To add users to your course:
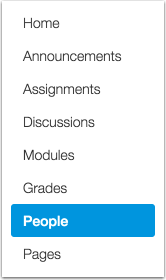
1. Look to the left to your Course Navigation and click on People.
1. Look to the left to your Course Navigation and click on People.
2. Click the Add People button.
Add People

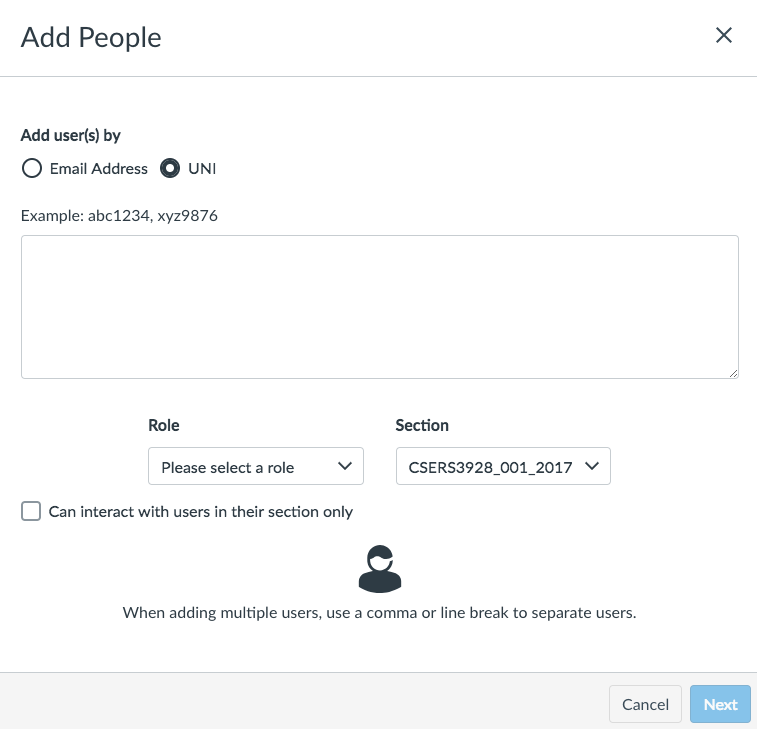
3. Use one of the options to add a user to the course - Email address, or UNI. We recommend adding a user through their UNI as users can change their email addresses.
4. Select the appropriate role and section.
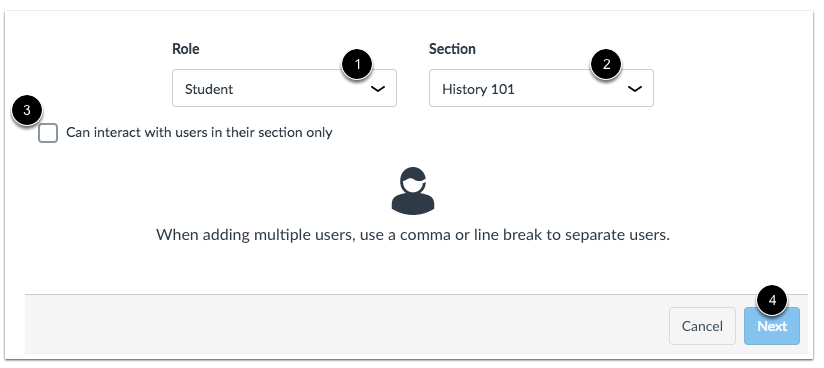
In the Role drop-down menu [1], assign the user(s) a role for the course based on available course roles.
In the Section drop-down menu [2], assign the user(s) a section in the course.
If you want to limit the user(s) to only interact with other users in their section, click the Can interact... checkbox [3].
Click the Next button [4].
Note: If you are adding multiple users at the same time, all users inherit the same role and section.
Updated: August 7th, 2016; CTL